上一节主要说明了怎么加入统一配置中心的组件,并从git上获取配置信息,可以实现所有微服务组件的配置统一管理,那如果微服务的配置修改了是不是还得跑回去重启微服务呢?如果有上百个微服务呢?这时候springCloud就提供了一种通过消息机制自动刷新配置,而且实现热更新无缝切换配置,下面就开始说明如何实现配置文件的自动刷新
除了自动刷新多个微服务的机制,也有单个微服务配置手动刷新的方法,手动刷新一般很少会用到,这里主要讲述多个微服务自动刷新
目录
1、给配置中心模块添加依赖
        <dependency>
            <groupId>org.springframework.cloud</groupId>
            <artifactId>spring-cloud-starter-bus-amqp</artifactId>
        </dependency>
        <!--服务客户端 -->
        <dependency>
            <groupId>org.springframework.cloud</groupId>
            <artifactId>spring-cloud-starter-netflix-eureka-client</artifactId>
        </dependency>
2、修改配置中心配置文件
主要是连接rabbitmq,以及注册到服务中心中,还有一个开启所有端点,主要是bus-refresh端点
server:
  port: 8804
spring:
  application:
    name: cloud-config
  cloud:
    config:
      server:
        git:
          uri: git@gitee.com:apgblogs/springCloudStudyConfig.git
  rabbitmq:
    host: apg-server
    port: 5672
    username: guest
    password: guest
eureka:
  client:
    service-url:
      defaultZone: http://localhost:8801/eureka/
  instance:
    prefer-ip-address: true
management:
  endpoints:
    web:
      exposure:
        include: "*"
3、给用户和订单微服务都加入以下依赖
在这两个模块的pom文件中分别加入以下两个依赖
        <!--云配置依赖 -->
        <dependency>
            <groupId>org.springframework.cloud</groupId>
            <artifactId>spring-cloud-starter-config</artifactId>
        </dependency>
        <dependency>
            <groupId>org.springframework.cloud</groupId>
            <artifactId>spring-cloud-starter-bus-amqp</artifactId>
        </dependency>
4、将用户和订单微服务的application的配置文件放入git仓库中
在仓库中创建以下几个配置文件
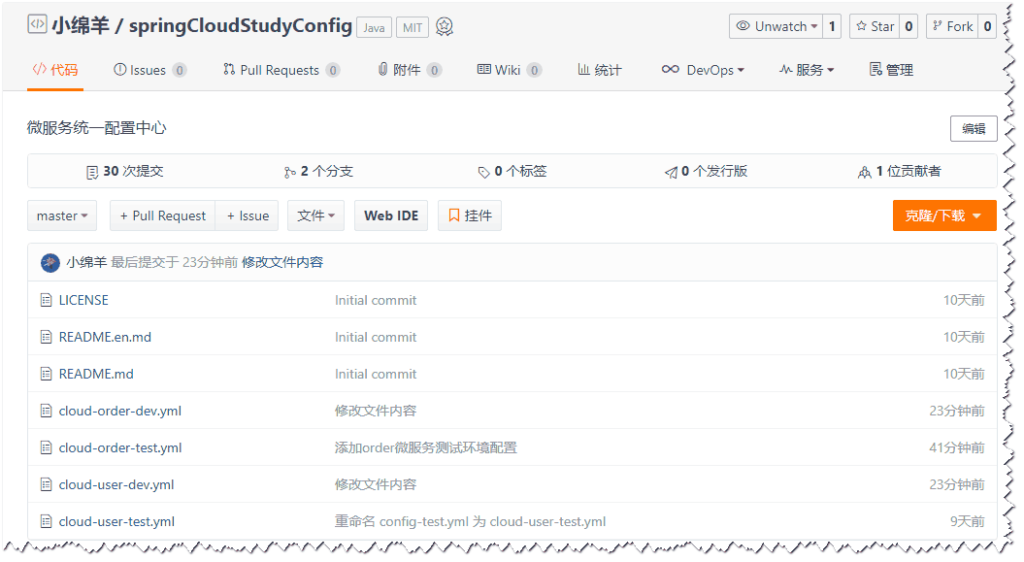
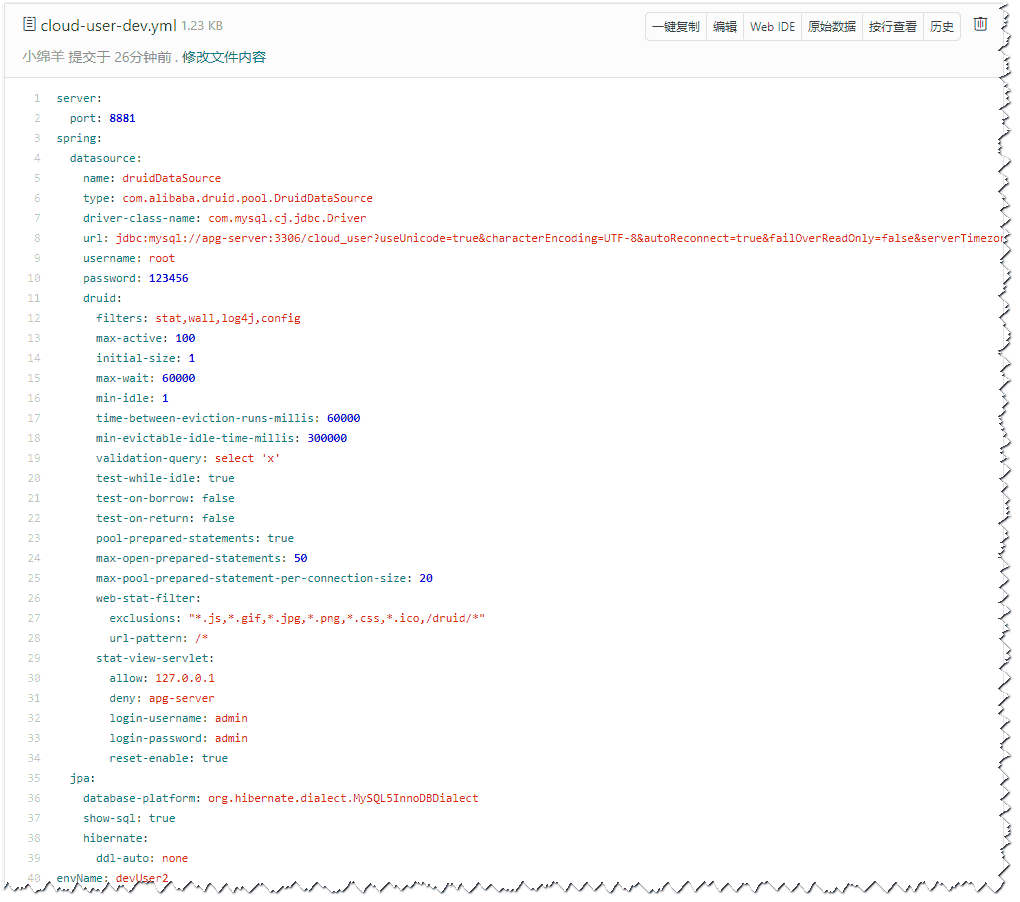
cloud-user-dev.yml配置文件
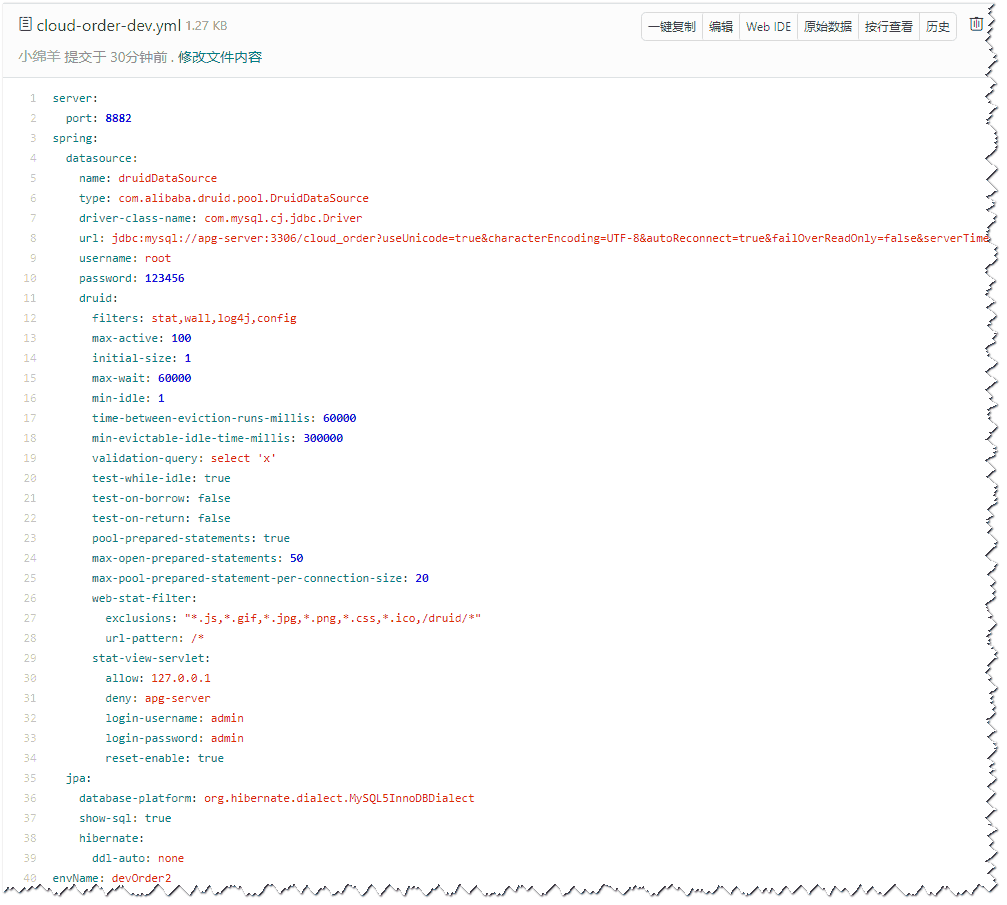
cloud-order-dev.yml配置文件
5、给用户和订单微服务都新建bootstrap.yml文件
用户bootstrap.yml文件
用于连接rabbitmq,连接配置中心
spring:
  cloud:
    config:
      label: master
      profile: dev
      discovery:
        enabled: true
        service-id: cloud-config
  application:
    name: cloud-user
  rabbitmq:
    host: apg-server
    port: 5672
    username: guest
    password: guest
eureka:
  client:
    service-url:
      defaultZone: http://localhost:8801/eureka/
  instance:
    prefer-ip-address: true
订单bootstrap.yml文件
spring:
  cloud:
    config:
      label: master
      profile: dev
      discovery:
        enabled: true
        service-id: cloud-config
  application:
    name: cloud-order
  rabbitmq:
    host: apg-server
    port: 5672
    username: guest
    password: guest
eureka:
  client:
    service-url:
      defaultZone: http://localhost:8801/eureka/
  instance:
    prefer-ip-address: true
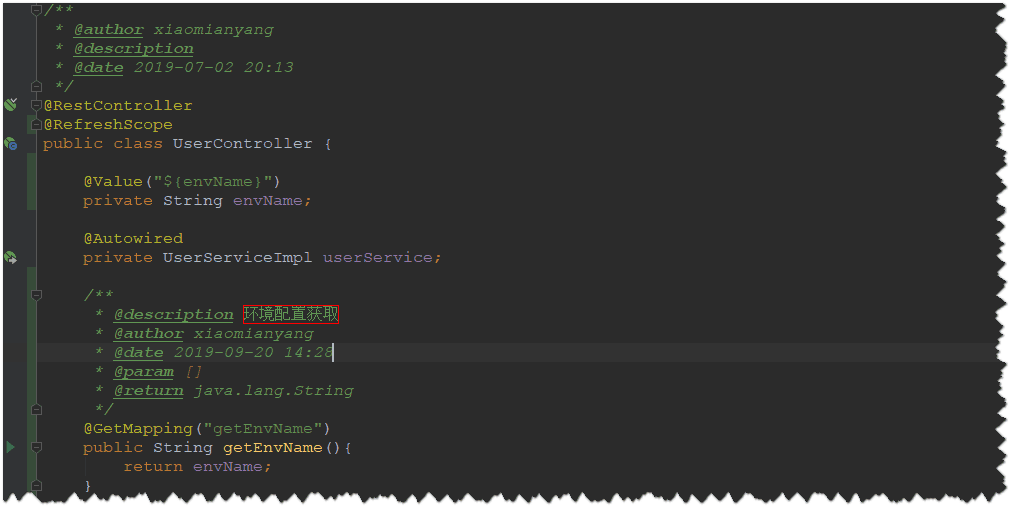
6、给用户和订单微服务都加入一个获取配置文件的地址用来测试
UserController中加入以下代码
@RefreshScope 加入此注解才能刷新此类中的配置
OrderController中加入以下代码,跟UserController是一样的

7、启动服务发现,配置中心,用户和订单四个微服务
启动时如果出现报错的话,请按先后顺序启动,先启动服务中心,再启动配置中心,再启动其他两个微服务

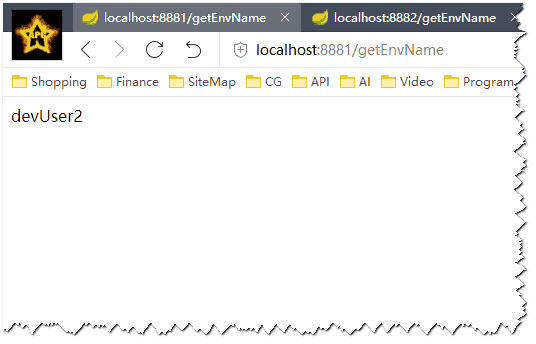
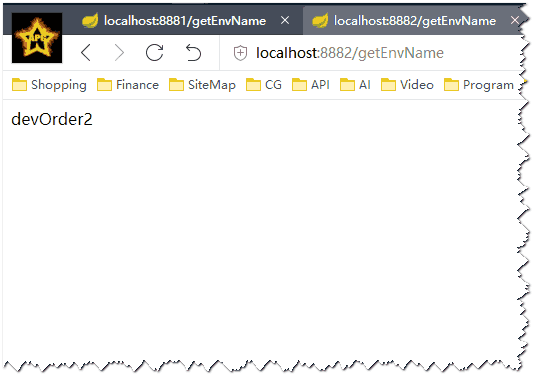
8、访问用户和订单微服务中getEnvName的地址
用户环境变量获取如下
订单环境变量获取如下
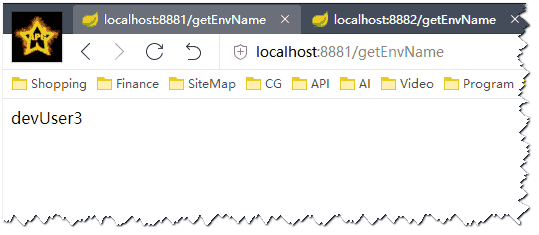
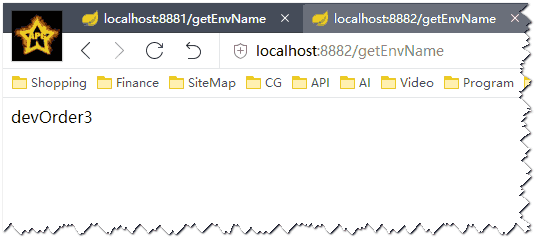
9、修改git仓库中用户和订单配置文件的envName值
将仓库中用户和订单的配置envName都修改了
cloud-user-dev.yml
envName: devUser3
cloud-order-dev.yml
envName: devOrder3
10、访问配置中心的bus-refresh端点对配置文件进行刷新
在postman中用post请求以下地址,即可对配置文件刷新
http://localhost:8804/actuator/bus-refresh
再去访问刚刚两个地址看看结果是不是变了
11、文章源码地址
码云:https://gitee.com/apgblogs/springCloudStudy/tree/configRefresh/